Ever wonder what is going to happen over your head during your roof replacement? Here are the steps your contractor will typically follow.
1.) PROTECT
The first step is to protect your gardens, yard and other property by hanging tarps from the edge of your roof.
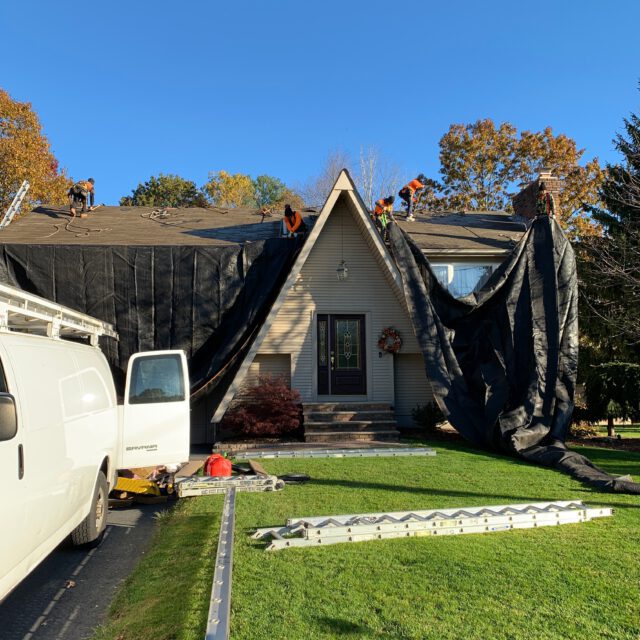
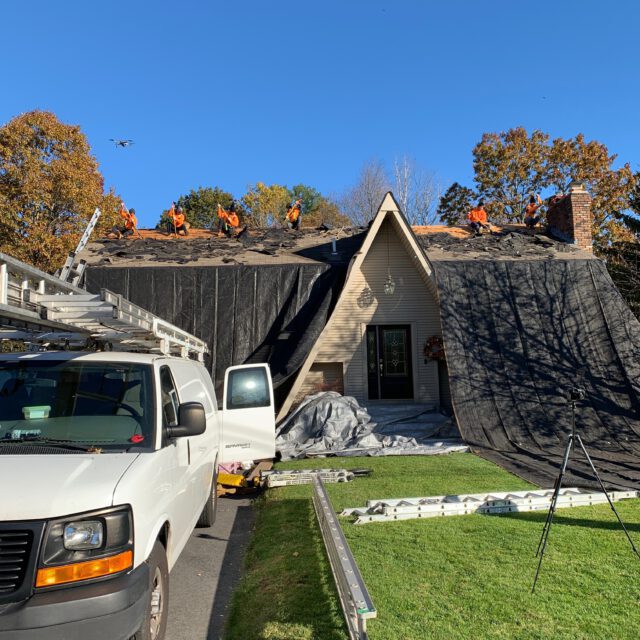
2.) STRIP OLD ROOF
The next step is stripping off the old shingles. The old shingles will be pushed off the edge of the roof to slide down the tarp where a crew member on the ground will load into the disposal container. During the shingle stripping, the crew will inspect the exposed roof deck for rotten plywood or ledger board and replace as needed.
3.) INSTALL ICE & WATER SHIELD
At this point, the tarps can safely be removed from the roof since there won’t be excessive amounts of falling debris for the rest of the process. Ice & Water Shield is installed 3’-6’ from the edges of the roof. This will give extra protection from future water leaks.
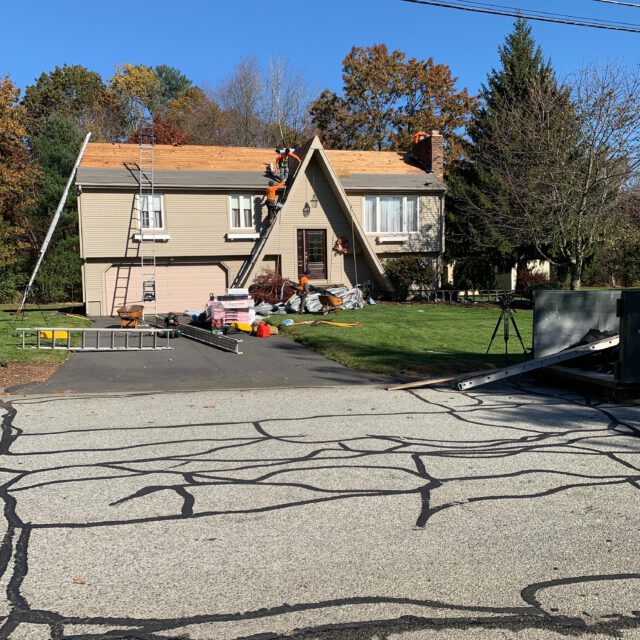
4.) INSTALL UNDERLAYMENT PAPER
Next, the entire exposed roof deck is covered in underlayment paper. This, too, helps to curb water penetration.

5.) INSTALL DRIP EDGE
After the underlayment paper, the drip edge is installed. Drip edge is installed along the entire perimeter of the roof. Drip edge is exactly what it sounds like, it’s a bent piece of metal meant to guide water away from your roof to drip off the edge. We standardly use F-8 Drip Edge which is wider than industry standard to provide extra protection against water infiltration from wind-driven rain along edges of roof.
6.) INSTALL STARTER SHINGLES
Now it’s time to install starter shingles along gutter lines and rake edges to ensure a straight edge and effective seal to protect against high winds.
7.) INSTALL PIPE BOOT(S)
Installation of pipe boot(s) over all roof penetrations is necessary in order to keep weather out of your house.
8.) INSTALL SHINGLES
Now that the roof deck is protected and the starter shingles are in place, the bundles of shingles are brought up to the ridge of the roof and shingling starts. The shingling starts from the edge of the roof near the gutter line and progresses up towards the ridge of the roof.
9.) INSTALL RIDGE VENT (OPTIONAL)
Ridge vent is to ensure proper roof ventilation to protect from heat and moisture in conjunction with existing soffit vents. In the event soffit vents are not present, the gable vents are to remain intact for proper cross ventilation. Ridge vent isn’t always the best option for your particular roof but this is explained in your first consultation with your contractor.
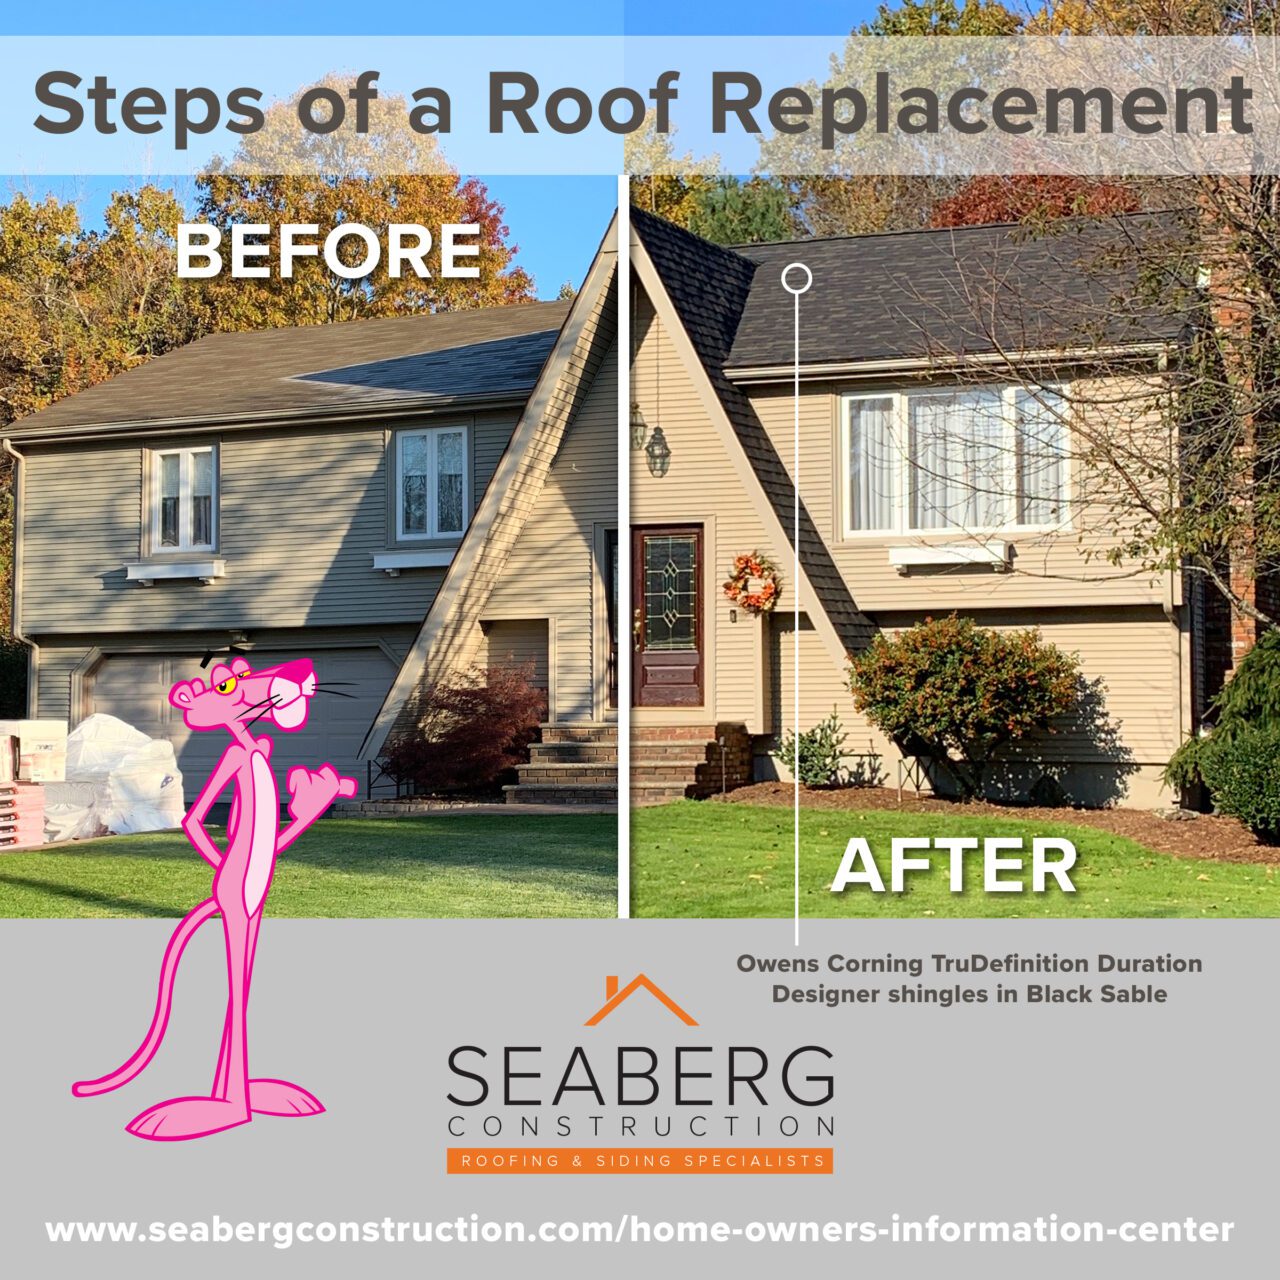
10.) ENJOY THE RESULTS
Get a load of these results! We used Owens Corning’s TruDefinition Designer Series Shingles in Black Sable. Stunning transformation.

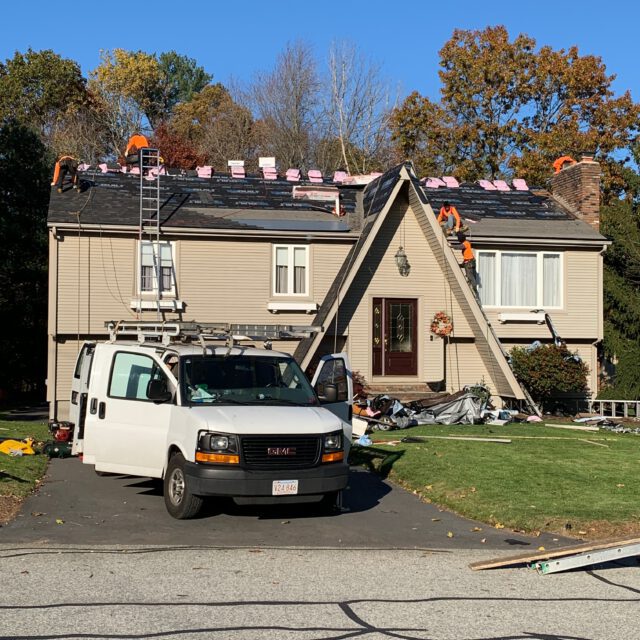
Before
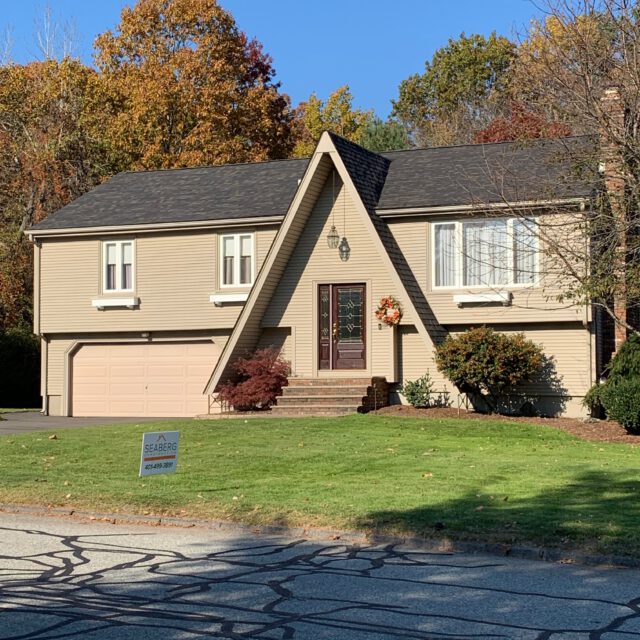
After
Lastly, what can you do during this process? How can you help? The best thing for you to do is to go out for the day! It won’t be too fun to stay home to hear the banging from overhead. We’ve got it from here. Take the dog to the park because generally, Fido won’t be too pleased about the ruckus either but luckily, it’s usually only just one day start to finish for an average shape and size roof.
To read more of Seaberg Construction’s blog, visit: https://seabergconstruction.com/home-owners-information-center/
Follow us on Facebook for our current projects, updates and promotions: www.facebook.com/seabergconstruction
And Instagram! www.instagram.com/seabergconstruction